How to enter an event
Entering a different kind of event? Relay guide · Team Competition guide · Club Activity guide
O-Entry lets you enter yourself or another athlete. You can save athlete details to your account for future entries.
1. Choose the event
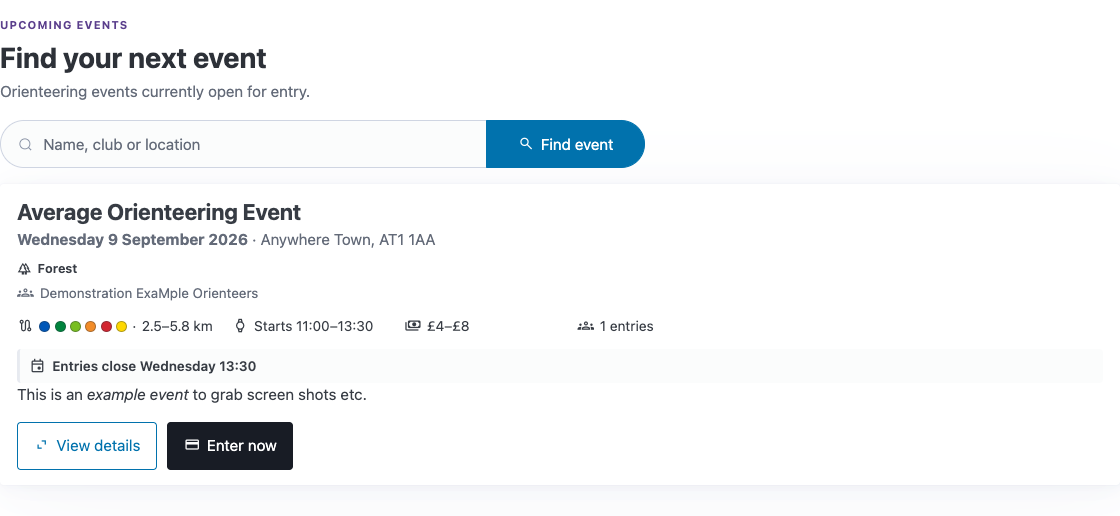
Open a public event from Find Event, read its details and choose Enter.
2. Tell us who is entering
The person making the booking can enter themselves or another athlete. You can add more than one athlete where the event allows it.
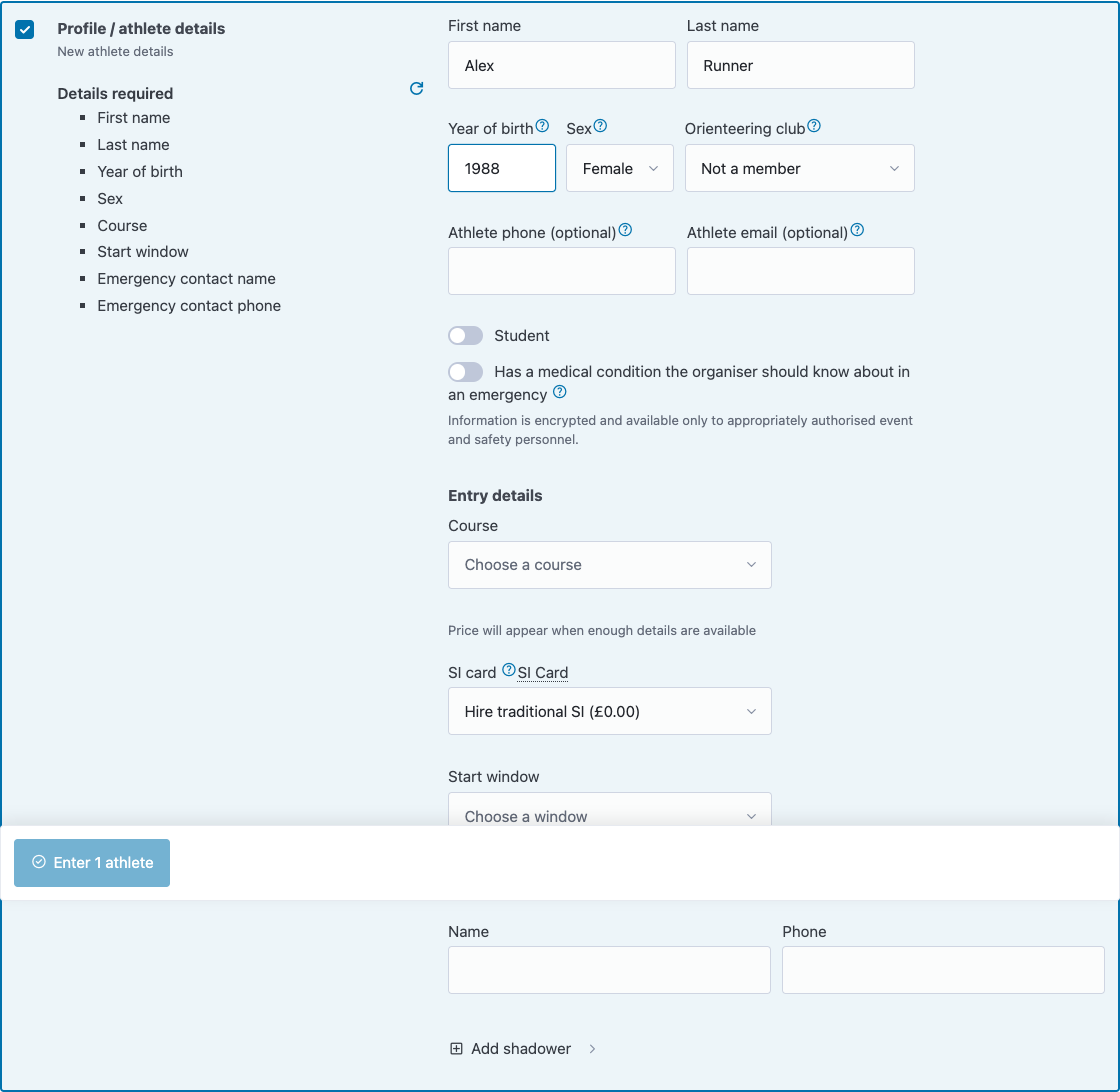
3. Athlete details
Name
The competitor's name is used for the event entry list and normally appears in published results.
Year of birth
Year of birth helps O-Entry apply age categories, age-related pricing and event restrictions.
Sex / category
This is used for the event's current eligibility and category rules.
Club and membership
Choose a club and provide BOF/SOA membership details when applicable.
Athlete contact details
Email and mobile are optional athlete details.
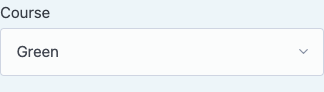
4. Choose a course
The published distance is the shortest valid route from the start, through the controls in order, to the finish. It accounts for uncrossable features, out-of-bounds areas and any compulsory routes. The shortest route is not always the fastest: a slightly longer route may be quicker or easier, depending on the terrain and your route choices.
You choose your own route between controls, so the distance you travel will normally be greater than the published distance. For beginners, it can be substantially greater; travelling 40% or more beyond the stated course distance is quite possible. The published distance is not a prediction of what your watch will record.
Climb is the estimated minimum ascent, in metres, along the shortest sensible route around the course. Your actual climb may be greater depending on the route you take.
Technical Difficulty (TD) describes how demanding the navigation is, from TD1 (easiest) to TD5 (hardest). Many traditional cross-country events use course colours to indicate technical difficulty and, to some extent, length. This convention does not apply to every event format; urban and sprint events may describe courses differently. For a first event, look for a course marked as suitable for beginners or check the event guidance. See British Orienteering's guidance on choosing a course for more about course colours.
5. SI card / dibber
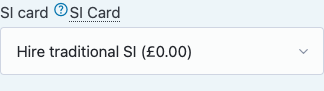
At most events you will need a timing chip called an SI card, often known as a dibber. You use it to record your visit to each control. Many events will lend or hire you one if you do not have your own. Contactless cards, known as SIACs, are increasingly common and may also be available to hire. If you already have your own traditional SI card or SIAC, you can usually use it.
6. Choose your start
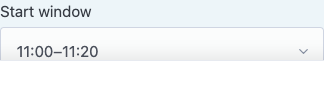
Some events will require you to select a start time when you enter. Other events may offer a period in which you can start, or a different start arrangement. The entry form will show what applies to this event.
What is a shadower?
A shadower is someone who accompanies the competitor around the course, often to support a young or inexperienced orienteer. They are not making a separate competitive entry.

7. Emergency and medical information
Emergency contact details let authorised event safety staff contact someone if needed. Optional medical information is encrypted and handled separately for event safety.
8. Review your entry
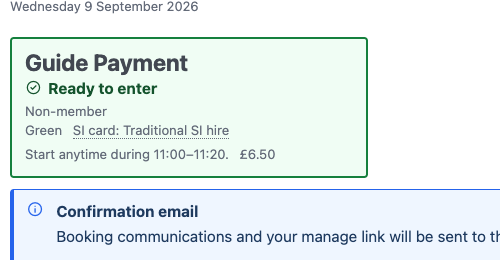
Review the athlete, course, SI choice, start, optional extras and itemised price before you continue.
9. Pay
Paid entries use Stripe Checkout. Stripe handles card details directly.
10. Confirmation
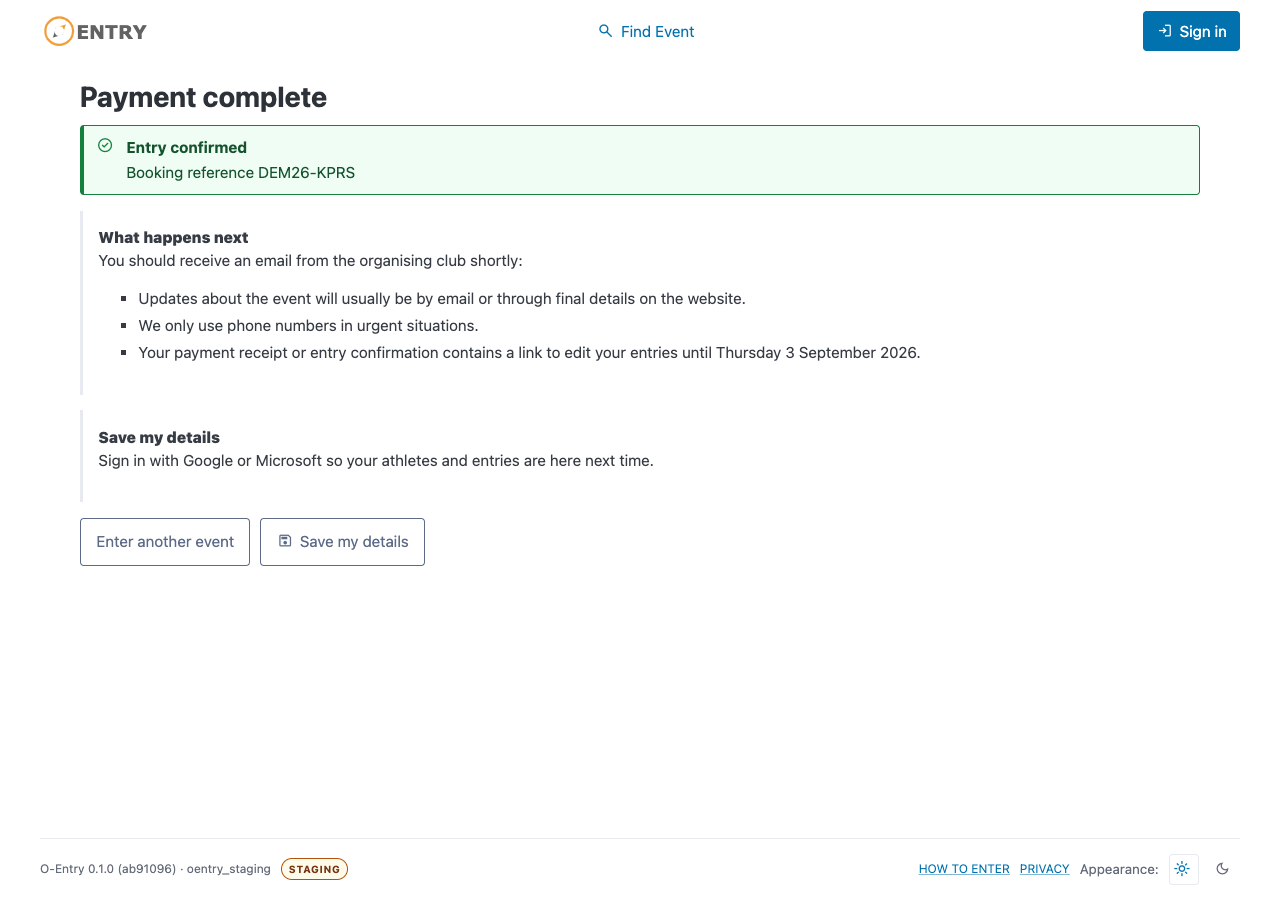
After successful payment, O-Entry confirms the booking and shows its reference.
11. Save the athlete for next time
On the successful guest-entry page choose Save my details, then sign in with Google or Microsoft. O-Entry associates the existing confirmed booking with your account and saves the participant details in My Athletes.